If you’re wondering how to paint trim as part of your interior house painting in Battle Ground, WA, you’re in the right spot! A fresh coat of trim paint can instantly lift the look of your space and give your home a polished feel. I remember a client tried painting trim in his own. It looked messy at first, but after following a few practical steps I advised, the result was surprisingly professional.
Whether you plan to do it yourself or hire a professional house painter, understanding these techniques will make the project easier and more rewarding.
Key Takeaways
Materials You’ll Need for Interior House Painting
Before tackling your trim, gather all tools and materials to make the job smooth and stress-free.
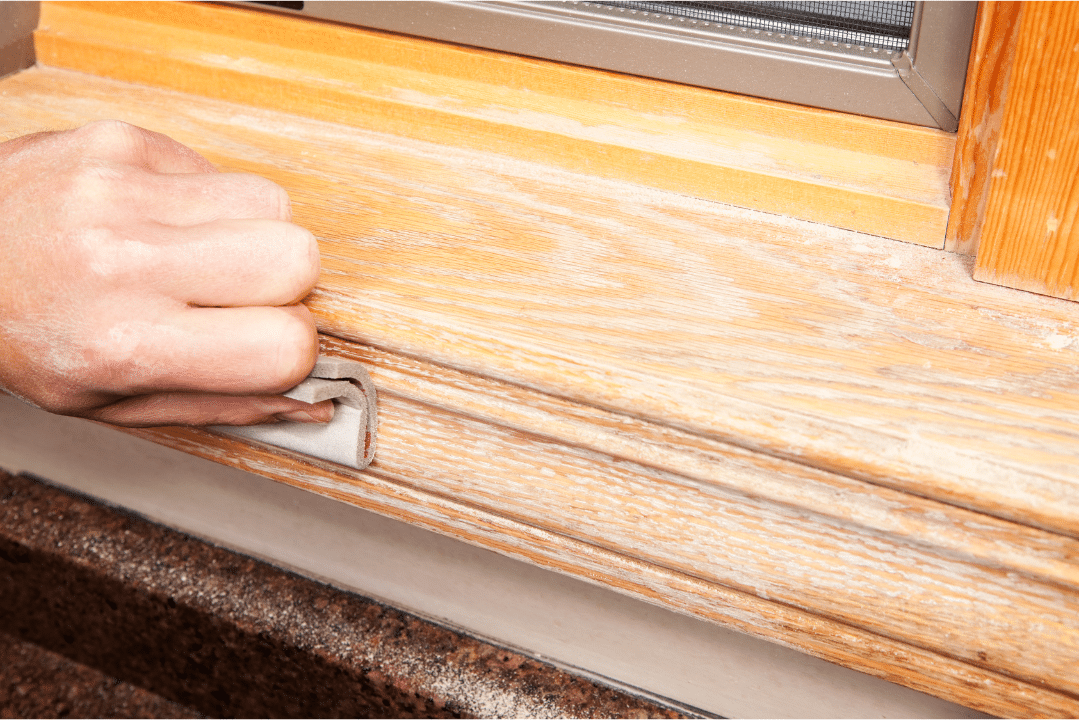
Step-by-Step Guide on How to Paint Trim
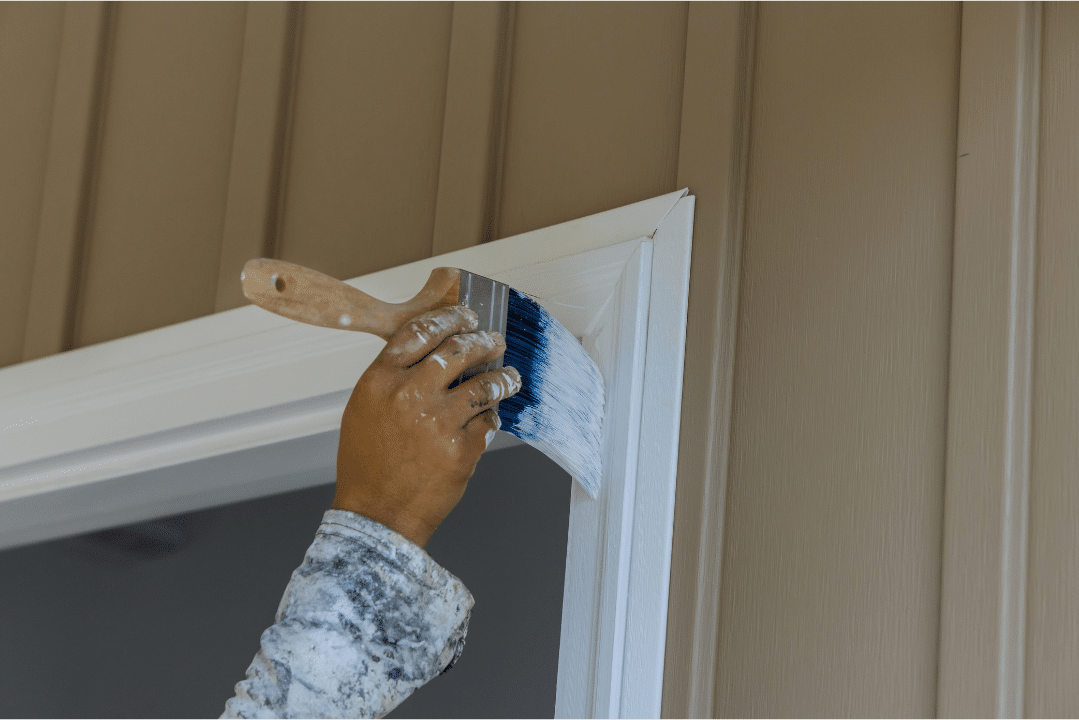
Painting trim can seem small compared to walls, but it can truly transform a room. Here’s how to paint the trim professionally without a ton of stress.

Tips for Perfect Trim Painting
Why Painting Trim Properly Matters
Trim defines your room’s look. A well-painted trim highlights your walls and ceiling, giving a professional finish. Even small mistakes can stand out, so paying attention to detail makes a huge difference. Whether doing it yourself or hiring a professional house painter, following these steps guarantees a clean, polished result.
If you want to save time or get professional results, Pivotal Painting in Battle Ground, WA can handle all your interior house painting needs. Their team of interior house painters is skilled at delivering smooth, even finishes on trim and other woodwork.
Finishing Your Trim Painting Project
Getting trim painting right is all about proper preparation, taking your time, and selecting quality materials. Following these tips will help you achieve a clean, professional finish with minimal stress. If you’d rather have the work done quickly or want a truly polished result, Pivotal Painting provides expert interior house painting services throughout Battle Ground, Ridgefield, and Vancouver, WA.
Give your home the polished, professional look it deserves by contacting Pivotal Painting at 360-230-7994 for a FREE estimate today. From Battle Ground to Ridgefield and Vancouver, WA, their skilled team of interior house painters delivers flawless trim and interior painting results that make every room shine.

