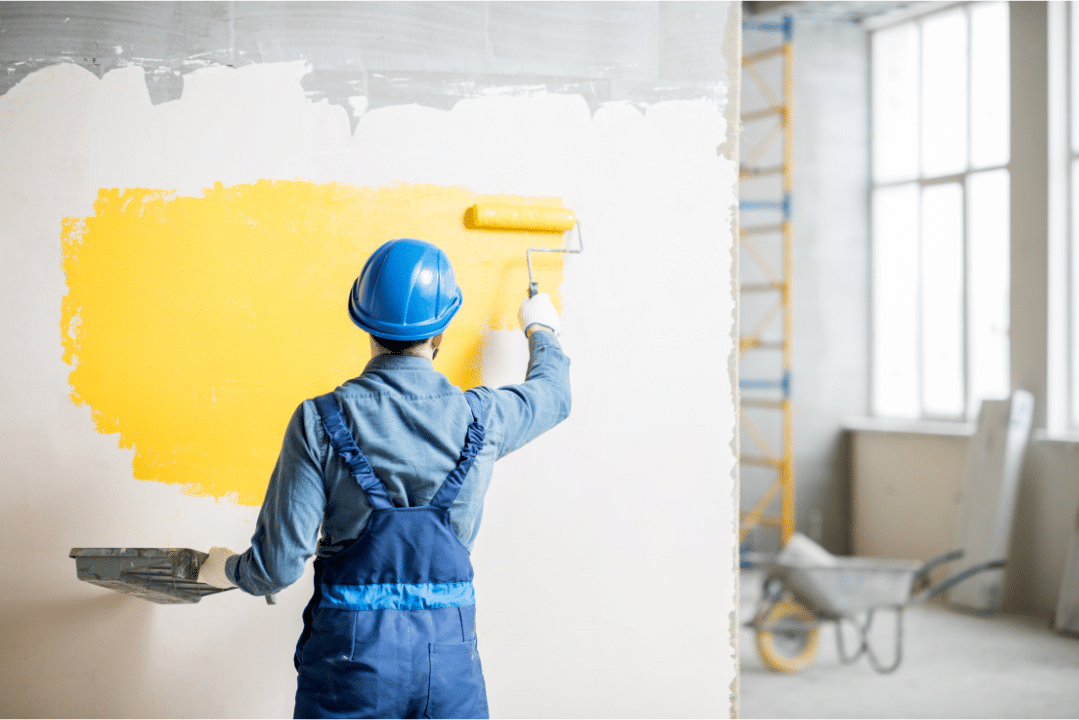
If you have been wondering how to paint textured walls while planning your next interior house painting in Kalama, WA, you are not alone. Many homeowners love the character and depth textured finishes bring, but the painting part can be tricky. The good news? With the right preparation, tools, and approach, you can refresh your space without drips, streaks, or frustration.
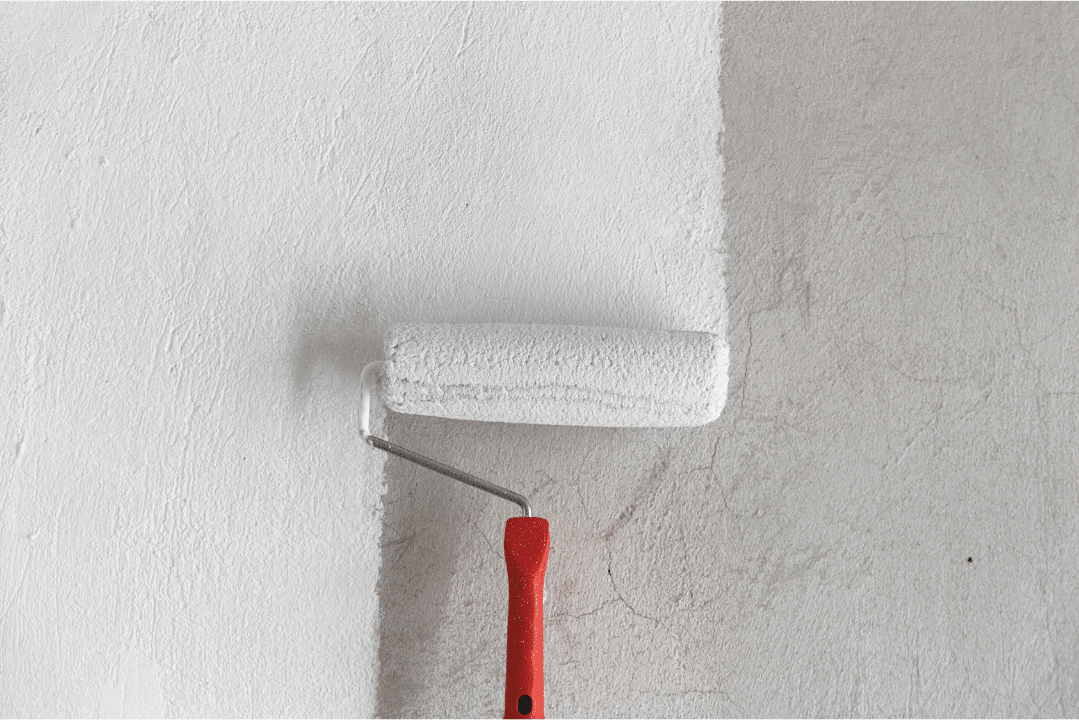
I remember painting a friend’s hallway that had heavy orange peel texture. It felt like the walls were ready to eat the roller. But once we switched to the right roller nap and slowed down our passes, the finish came out so smooth it looked like new drywall from a distance. That experience reminded me that preparation and technique make all the difference when painting textured surfaces.
Key Takeaways
Prep Work Before You Pick Up a Brush
Before you get into the painting itself, prep is everything. Textured surfaces tend to grab onto dust and debris, which can interfere with paint adhesion. Use a shop vacuum with a brush attachment or a clean, soft-bristle brush to remove any dirt. If the walls have grease or smudges, a mild soap solution works wonders.
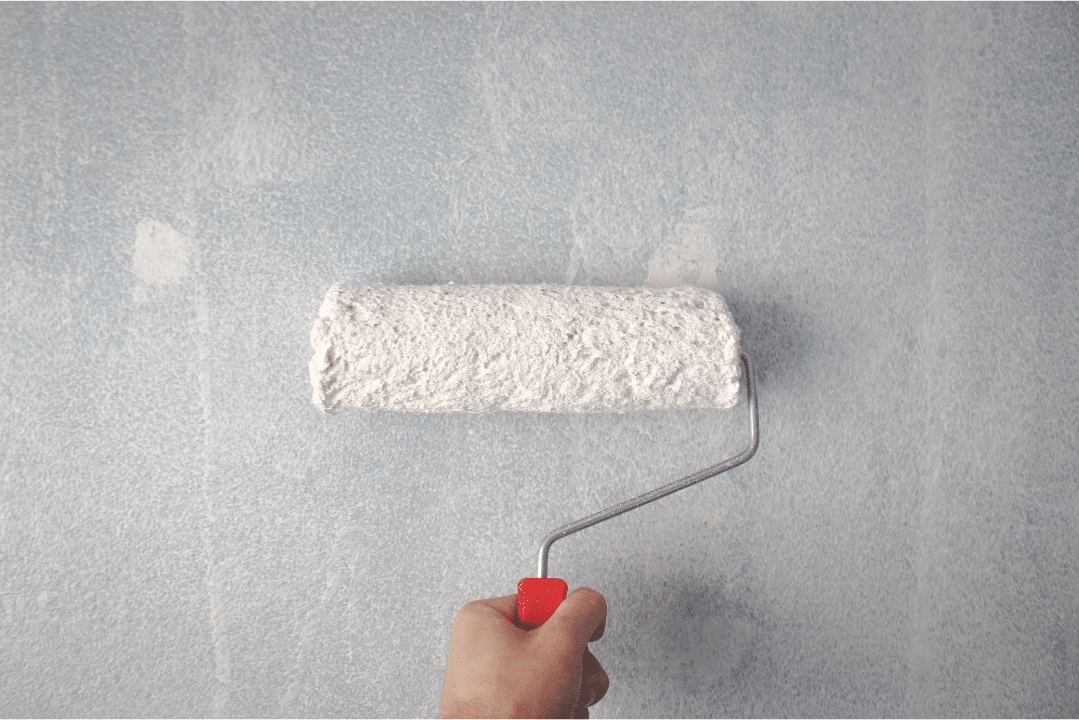
Another step that cannot be skipped is choosing the right roller nap. For light textures, a 1/2-inch nap usually does the trick. For heavy textures like orange peel or knockdown, a 3/4-inch nap makes it easier to get into the crevices. Avoid foam rollers since they glide over texture instead of reaching into it.
Take off switch plates and outlet covers, and store screws in small bags so nothing gets lost. If you spot holes or dings, fill them with spackle or joint compound. Using your finger instead of a putty knife helps keep the repair blended with the existing texture.
Supplies Checklist
Having everything in one place means less scrambling mid-project and more consistent application.
How to Paint Textured Walls Step-by-Step
Tips for How to Paint Textured Walls Like a Pro
Why Working With a Professional House Painter Pays Off
Even if you know how to paint textured walls, it can be a physically demanding and time-consuming project. A professional house painter has the right tools, experience, and eye for detail to get a consistent finish faster. They can also help choose paint types that work best for walls with textured paint, especially in high-traffic or high-moisture areas.
If you’re already planning interior house painting, think about whether it’s worth your weekend to do it yourself or let a pro handle it so you can skip the cleanup.
Let Pivotal Painting Handle Your Textured Wall Project
Painting textured walls takes more than just a brush and roller. The prep work, product selection, and application method all affect the final look. Pivotal Painting specializes in interior house painting that makes textured surfaces look polished without losing their character.
Whether you need a single room refreshed or the whole house updated, our crew delivers smooth results with minimal mess. We work throughout Vancouver, Ridgefield, and Battle Ground, WA, offering free estimates so you can plan with confidence.
Call us at 360-230-7994 today to schedule your FREE estimate and get your project started with Pivotal Painting.

